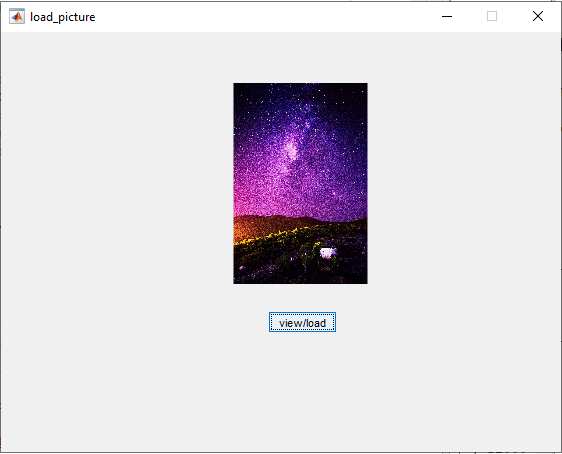
Final GUI for this tutorial:
Initializing GUIDE (GUI Creator)
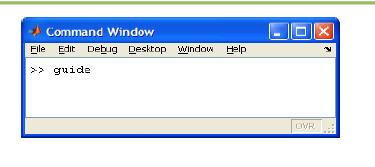
1. Open up MATLAB. Go to the command window and type in guide
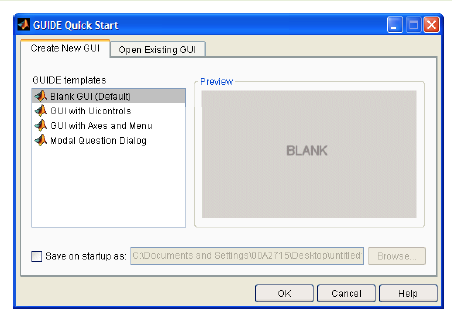
2. Choose the first option Blank GUI (Default)
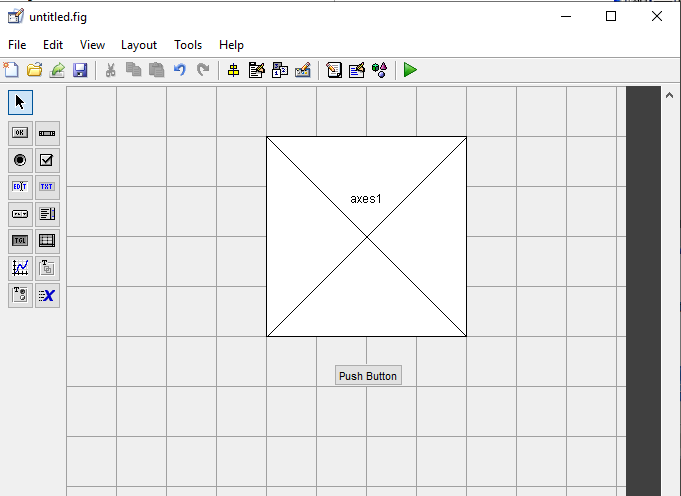
3. You should now see the following screen.
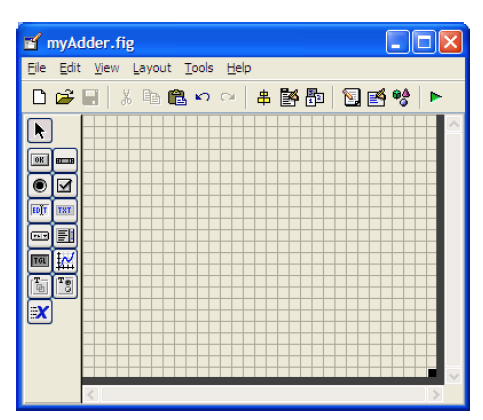
4. Add a Axes and button components to the GUI figure.
The Tag property of Axes is named axes1 and pushbutton1 for button.
Rename the button from Push Button to view/load.
5. Click run and save your GUI wherever you please with your desired filename
Writing the Code for the GUI Callbacks
6. Add the following code to the function:
function pushbutton1_Callback(hObject, eventdata, handles)
a = imread(‘peppers.png’);
imshow(a);
handles.image0 = a;
guidata(hObject, handles);
7. If you want to load an image from your file explorer, just comment the above code and replace with the following code.
cla(handles.axes1,’reset’);
[filename,pathname]=uigetfile({‘.jpg’; ‘.bmp’},
‘Select an Image’);
a = imread([pathname,filename]);
axes(handles.axes1);
imshow(a);
handles.a = a;
guidata(hObject,handles);
Share this content: